Showing posts with label APPLE. Show all posts

Friday, 23 September 2016

WILL MY MAC RUN MAC SIERRA

WILL MY MACBOOK  RUN MAC SIERRA

Image result for macOS Sierra
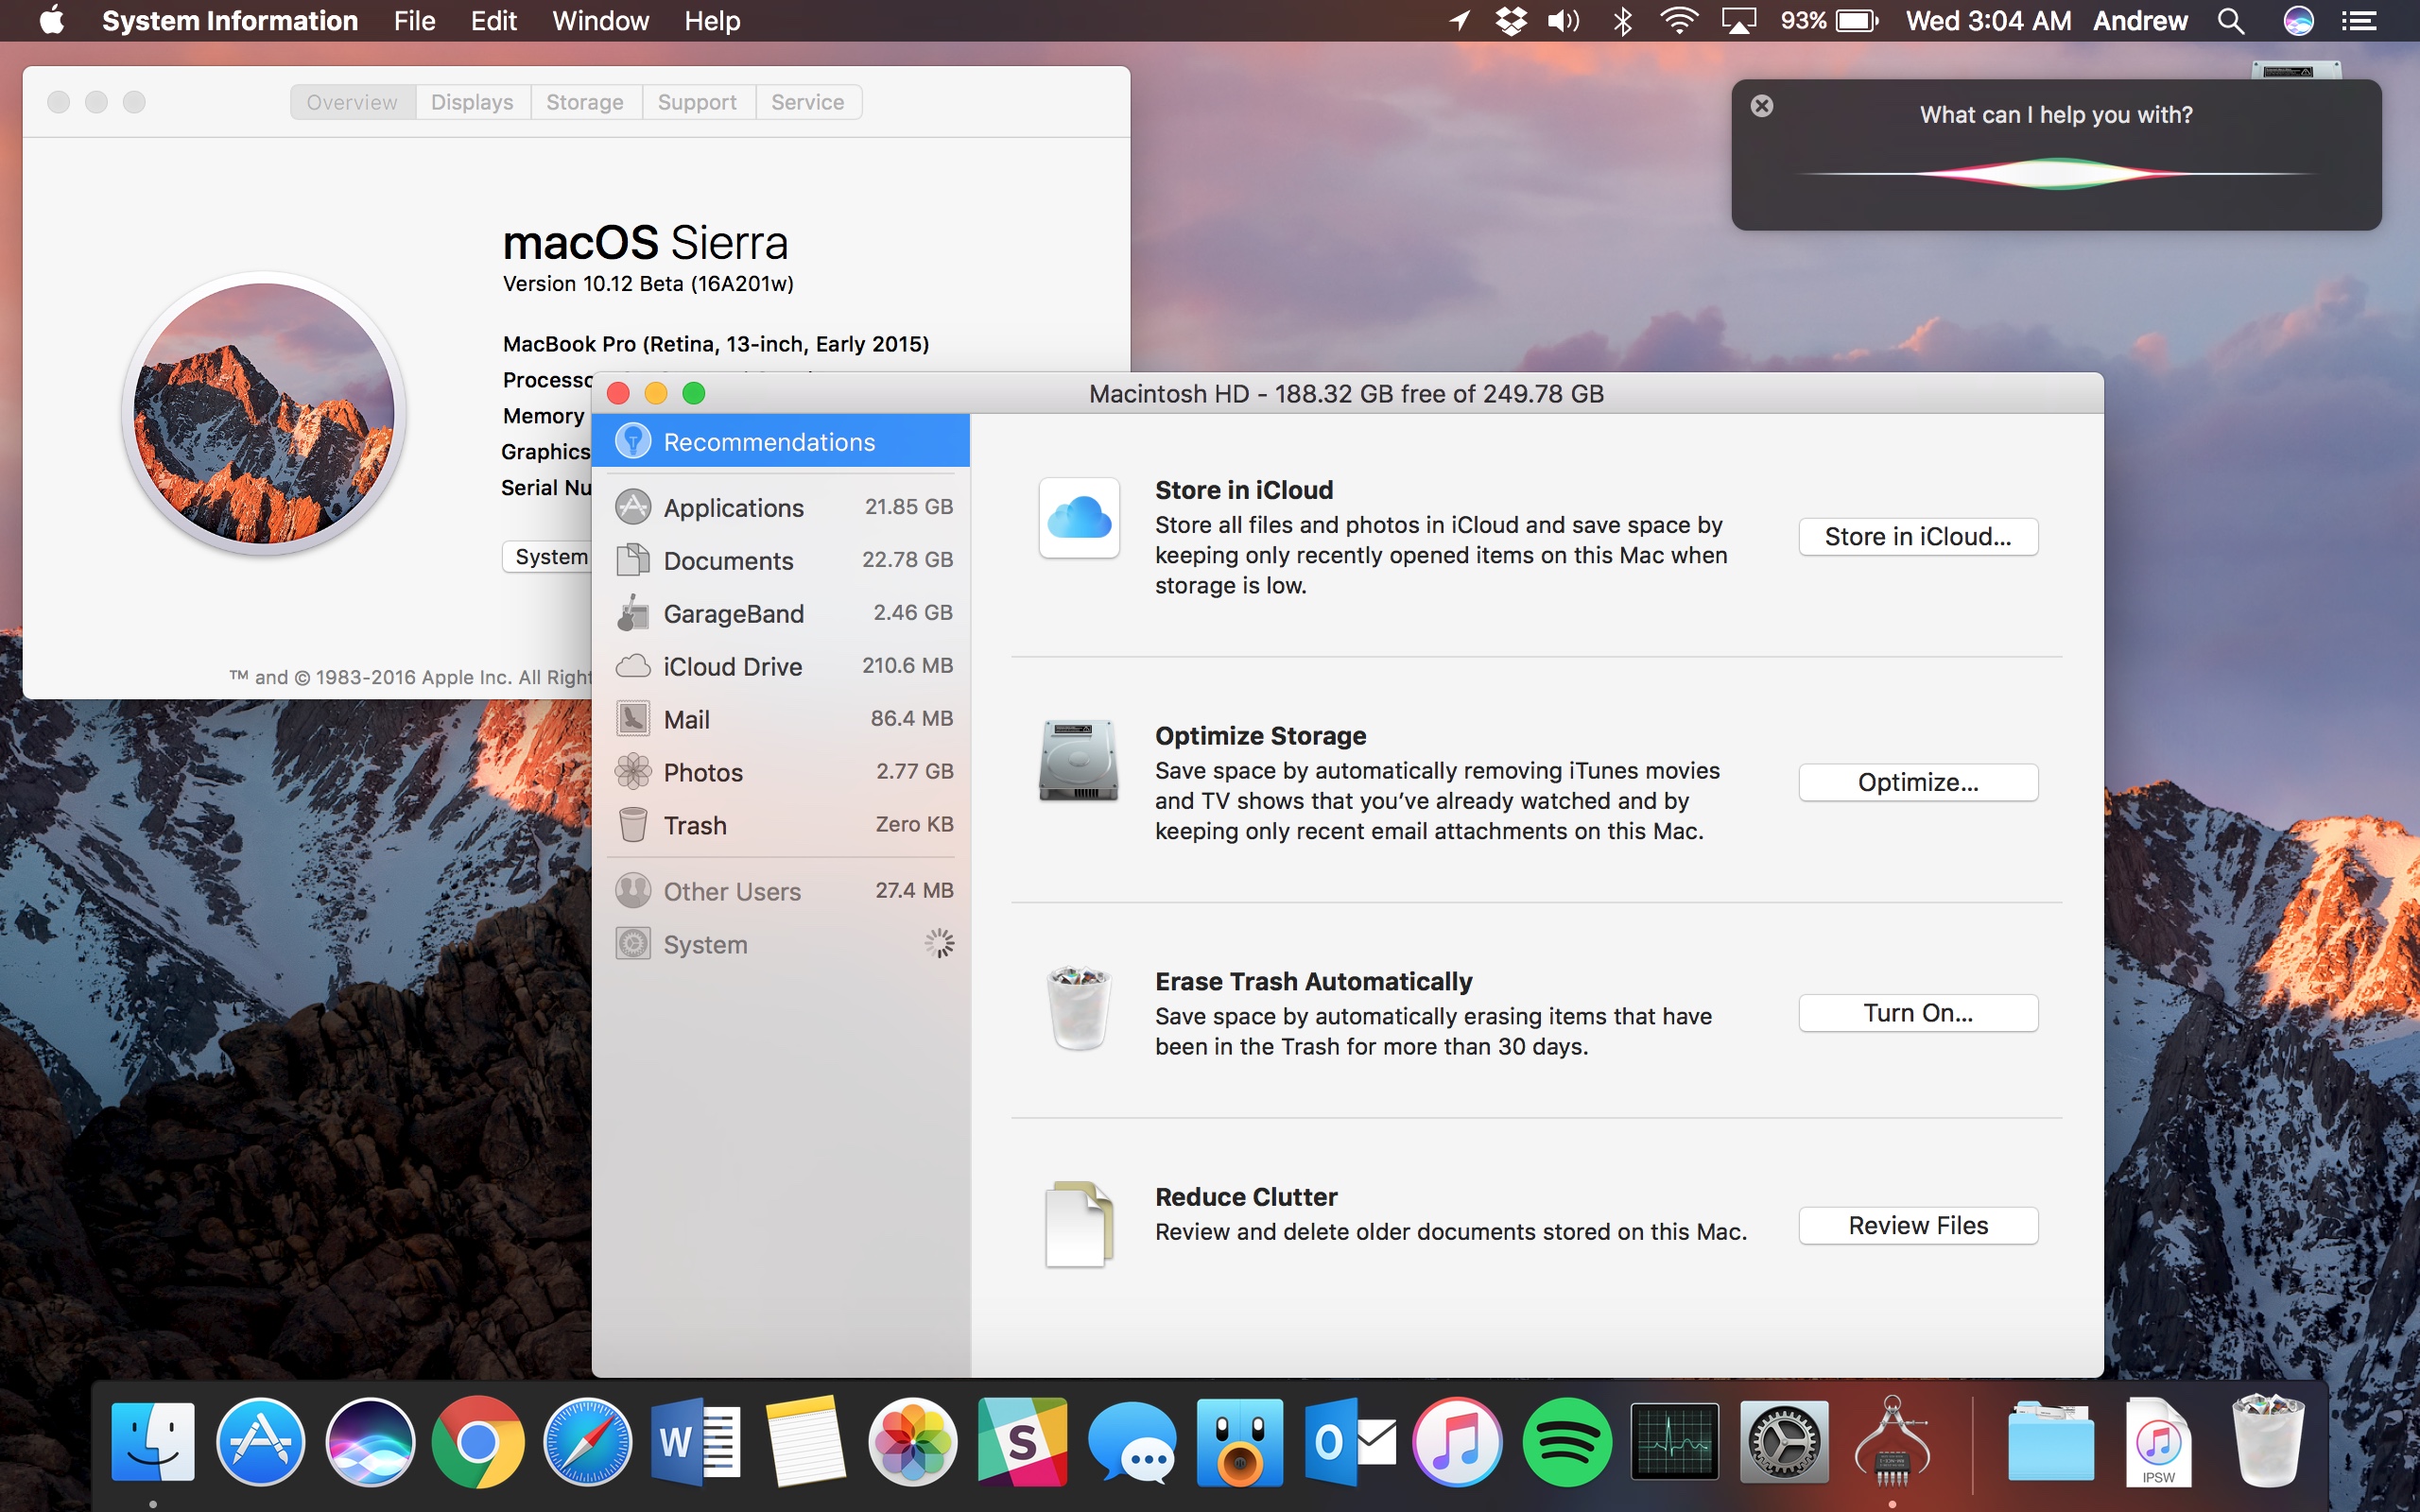
On September 20 macOS Sierra the latest version of the Mac operating system was made available for free in the App Store.
But the the big question: Is your Mac compatible with Sierra? lets see the compatibility list, according to Apple.
Image result for macOS Sierra

OS requirements
You can upgrade from OS X 10.7 Lion or later.
Apple Pay and Universal Clipboard Requirements
To use your iOS device with Universal Clipboard, that device needs to run iOS 10.
For Apple Pay, you also need:
*iOS device running iOS 10 
or
*Apple Watch running watchOS 3
To use the Apple Pay and Universal Clipboard you'll need the following:
iMac (Late 2012 and later)
MacBook Air (Mid 2012 and later)
MacBook Pro (Mid 2012 and later)
Mac mini (Late 2012 and later)
Mac Pro (Late 2013)
MacBook (Early 2015 and later)
Auto Unlock Requirements
You need these to use Sierra’s Auto Unlock feature.
Any Mac model from 2013 or later
Signed in to iCloud with the same Apple ID
Two-factor authentication must be turned on
iPhone running iOS 10
Apple Watch running watchOS 3
MacOS Sierra compatible
iMac (Late 2009 and later)Mac mini (2010 and later)Mac Pro (2010 and later)MacBook (Late 2009 and later)MacBook Air (2010 and later)MacBook Pro (2010 and later)

Before you leave, do me a favor and answer me this question:
What’s your opinion of Bitcoin
~Is it here to stay — permanently — or is it just another passing fad?
Leave your comment below  (Please! Don’t forget to use the social sharing buttons, either)!

How To Flashing an SD card on a Mac

Flashing an SD card on a Mac

Image result for RasPiWrite mac
On Mac, you can use a script called RasPiWrite to automate much of
the process of flashing the SD card including
unzipping it.
Because this operation involves erasing a disk using beta soft-
ware, we strongly advise
you to make sure your computer is backed up before you begin, just in case
something should goes wrong.
RasPiWrite can download one of the officially recommended distributions
before flashing it to the SD card. Our instructions are slightly different than
the instructions provided with RasPiWrite because we prefer to download
the distribution separately, so that we can choose from any of the distribu-
tions available, not just those that are officially endorsed, and so we can
more easily see how the download is progressing.
Here’s how you can use the script to flash your SD card:
Downloading the Operating System
1. In your Documents folder, create a folder called SD Card Prep and a
subfolder called RasPiWrite inside that.
2. Visit click here to  download the Zip file for RasPiWrite.
3. Double-click the downloaded file and open the resulting folder.
4. Drag the three files it contains into the RasPiWrite folder you created.
5. Drag the Zip file of your Linux distribution into the RasPiWrite folder.
6. Launch the terminal. If you can’t find it, press Cmd+Space bar and
type terminal into the Spotlight search bar. Press Enter to launch the
terminal.
7. Go to the SD Card Prep folder in a Finder window and, in the terminal
window, type cd, followed by a space. Then, without pressing another
key, drag the RasPiWrite folder into the terminal window.
This places the path of that folder into the command line.

8. Press Enter. Then type ls (in lowercase) and press Enter to see a list
of files in the folder.
You will use this list later to copy the name of your distribution Zip file
so you can avoid making a mistake while typing it.
You should now be in the RasPiWrite folder in the terminal.


9. Remove any memory cards, USB keys, or other removable storage
devices you might have plugged in and then run RasPiWrite by typing
sudo python raspiwrite.py (in lowercase).
10. Enter your system password.
You will see a few paragraphs of information about the script, topped off
with a lovely raspberry created using text characters.

11. Insert your SD card either in the Mac’s SD slot (if it has one) or
through an SD card reader, and then press the Enter key.
What happens next depends on your system.
For example, the has a partition that it runs Boot Camp from and RasPiWrite
thinks this is his SD card. This is why you’ve got to be vigilant: RasPiWrite
can get confused about which device is your SD card and could mistakenly
wipe the wrong one if you drop your guard. (In practice, it doesn’t work if
it can’t unmount the drive, so it wouldn’t actually wipe the Boot Camp
partition, but other disks might be vulnerable to accidental loss.) The

 Raspberry Pi
Image result for RasPiWrite install mac
The following drives were found, please verify the name of
the SD card in finder with the name under the Mounted On
column (after /volumes/):
Filesystem
Size
Used
Avail
Mounted
Capacity on
Volumes/WINDOWS
/dev/disk1s1
56Mi
34Mi
22Mi
61%
/Volumes/
Untitled
---------------------------------------------------------
I believe this is your SD card: /WINDOWS is that correct?
(Y/n)

12. This is not an SD card, so we respond with N for No and press Enter.
If RasPiWrite correctly identifies your SD card, enter Y and skip to Step 15.
13. RasPiWrite then responds with Please Enter the Location You Believe
Holds the SD Card. Enter dev/disk1s1 or simply copy and paste this
from the window.
14. You’ll see a message that says, I Believe This Is Your SD Card: /dev/
disk1s1. Is That Correct? (Y/n). Reply by pressing Y and then Enter.
It will then ask if you want it to download a distribution.

15. Because we have already done this, type N and press Enter.
The script asks you to locate the disk image. Scroll the terminal window
back up to where you used the ls command and copy the file name of
the distribution, and then scroll down to the bottom of the window and
paste in the filename.
The image file is extracted from the Zip file, which might take a short
while. After that, RasPiWrite summarizes the setup you have chosen and
reminds you that you use RasPiWrite at your own risk. Double-check
the details here, especially that the SD card has been correctly chosen.
Whatever you’ve selected here is where the Linux distribution will be
installed.

16. To proceed, type accept and press Enter.
At this point, you might think that the program has hung up. You should
see a series of dots being slowly printed on the screen. This can take
a long time: Paul, our technical editor, found his computer finished in
under half an hour but Mike’s computer took over an hour. You can use
the computer for other things while this is going on, but if the computer
crashes, you have to start over from the beginning of the flashing pro-
cess. When it’s finished, you get a message telling you that you can dis-
mount your SD card.Chapter 2: Downloading the Operating System
There’s one other thing you should look out for when using this script. After
typing accept, you might immediately get an error message like this:
Running dd bs=1m if=2012-08-16-wheezy-raspbian/2012-08-16-
wheezy-raspbian.img of=/dev/disk1...
Waitingdd: 2012-08-16-wheezy-raspbian/2012-08-16-wheezy-
raspbian.img: No such file or directory
done!
.Transfer Complete! Please remove the SD card
The message telling you that the transfer is complete is not true, and the clue
is that there was no delay before you saw this message. The message “No Such
File or Directory” is saying that it couldn’t find your Linux distribution image.
This can happen if the distribution contains just an image file instead of the
image file inside a folder of the same name. In this case, go back to the Finder
and create a folder inside the RasPiWrite folder and give it the same name as
your distribution Zip file, but without the .zip on the end. Then go into the
RasPiWrite folder and drag the .img file (which the RasPiWrite script has now
unzipped for you) into the folder you just created. You can then repeat the
previous steps successfully.

Before you leave, do me a favor and answer me this question:
What’s your opinion of Bitcoin
~Is it here to stay — permanently — or is it just another passing fad?
Leave your comment below  (Please! Don’t forget to use the social sharing buttons, either)!

Friday, 16 September 2016

Trackr

How to track your all gadget using your smartphone.


New tracking method adapted to all budgets.
Lost your car and can’t remember where you parked? It happens to the best of us: wandering aimlessly through parking lots, clicking the panic button on your key chain to get your headlights to illuminate.
You don’t need some spendy radio transponder to keep tabs on your car. Uplinking your wheels to the great eye in the sky without breaking the bank is easier than you think.
Standalone GPS and radio triangulation units can cost hundreds. And that’s not counting the installation and (frequently hefty) activation and monthly fees associated with whatever service you do choose. For most of us, it’s overkill.
The good news is that some of life’s biggest problems seem to be disappearing because of new technology.. If you frequently forget where you parked your car, there is a tiny gadget and app that could be what you’re looking for.
What is it about?
It’s about Trackr, A small and discreet device the size of a coin that is revolutionizing the market..
trackr-bravo-4
But… How does it work?
Very easy! It will take less than five minutes to put it to work. You simply have to pair it with your smartphone and download the free application which will allow you to locate it anytime.
Once this is done, you simply have to put it on your key chain, in your wallet or in any object you want to locate always. In this case you just have to hide it in your car.
Now just have to open the application on your mobile and you can see on the map the position of your device. If you get to lose your car, simply select “find device”and you’ll get the coordinates of the new location.


With Trackr you’ll be able to locate your car at any time

In the following video you’ll be able to see it in action:
How much is it going to cost?
You’re probably thinking that this device will be very expensive…. nope. This is the best part, you can acquire one for so little, the price is about 27$. Not bad considering it gives peace of mind.

How to buy it?
That’s easy, you can buy it from the website.
Update
Now you can buy 2 units and get 1 free Offer ends on Friday, 13 August 2016

Other functions
Do you often forget your wallet? Forget where you left your keys? Or want to prevent your pet from escaping? With Trackr you can also track your personal belongings, just simply attach it to anything you consider important for you or easy to lose, you link it to your Smartphone (with the Trackr application) and you will find what you lost, it’s that easy!

Detailed instructions on how to use Trackr
Now that you are aware of the potential of this curious device, we will make a brief summary to clear all your doubts:
  • Step 1: Get Trackr Bravo from this website,, you’ll get it delivered to your home in about 1 week.
  • Step 2: Link Trackr Bravo with your Smartphone (iPhone or Android) and hide it in your car.
  • Step 3: Download the app and always have in hand the location of your valuables.
As Simple As That Comment!

Before you leave, do me a favor and answer me this question:
What’s your opinion of Bitcoin
~Is it here to stay — permanently — or is it just another passing fad?
Leave your comment below  (Please! Don’t forget to use the social sharing buttons, either)!


Run Windows Programs Using Wine

Run Windows Programs Using Wine

Image result for how to install wine on mac

(if what you want is how to install wine click here)
Open up the Terminal and run this to get to your Program Files folder:
cd ~/.wine/drive_c/Program\ Files/
Pick a program, and enter its directory using cd. 
Note: If the folder has a space in it, you must type a \ before the space. For example, Program\ Files. If you're having problems, try using tab autocomplete. There should be a file that ends in .exe: this is the program file. Type this into Terminal:
wine $PROGRAM.exe

Where $PROGRAM is the name of the .exe file. XQuartz will open 
Note: It will open full screen' to reduce it in size, go open the Window menu from the Mac OS X menu bar, and select Zoom Window. You can then resize the program normally. 
Enjoy using Windows on your Mac, comment!


Before you leave, do me a favor and answer me this question:
What’s your opinion of Bitcoin
~Is it here to stay — permanently — or is it just another passing fad?

Leave your comment below  (Please! Don’t forget to use the social sharing buttons, either)!

How To Uninstall Wine From Mac OS X

Uninstalling Wine and Homebrew

Image result for how to install wine on macIf you use Wine and you don't like it, uninstalling it is easy. Just run this command:
brew uninstall wine
And Homebrew will helpfully remove Wine from your computer. 
Note: in order to install Wine, Homebrew also install many other small programs that Wine relies upon to work correctly. if you want to remove these as well, download and run the Homebrew uninstallation script

Thursday, 8 September 2016

Apple iPhone 7 Full specs, key features, UK price and release date

Apple  iPhone 7 and 7 Plus without headphone jack unveiled


The new iPhone 7 and 7 Plus was announced in San Francisco on Wednesday by Apple .

The new iPhones resemble the iPhone 6S and 6S Plus a little  and do not have a 3.5mm headphone jack (a first on any iPhone).

Design
The antenna lines was done away with the new Jet Black model that has a brand new glossy enclosure.
12MP camera
4.7" Retinal HD display with wide color gamut
Optical image stabilization
7MP FaceTime HD camera
New Touch Home button 
Water and dust resistant
Stereo speakers
A10 Fusion chip
LTE Advanced up to 450 Mbps
Longest battery life ever in an iphone
iOS 10.
There's  a new regular Black model along with the typical rose gold, silver and gold colors. They are all made of aluminum.
The home button is touch-sensitive and builds on the Force Touch trackpads Apple includes on its new MacBooks, that means  it's not a physical button that can be pressed, but one that simulates a button press.

Screen size 
The iPhone 7 comes with a 4.7-inch Retina HD IPS display with 1,134 x 750 resolution at 326 ppi (pixels per inch). The larger iPhone 7 Plus comes with a 5.5-inch Retina HD IPS screen with 1,920 x 1,080 resolution at 401 ppi. 
The screens are also 25 percent brighter and deliver a wider range of colors and increased contrast. 
Improved cameras

Apple bumped iSight camera's resolution from 8 megapixels to 12 megapixels last year on the iPhone 6S and 6S Plus. 

For the new iPhones, the resolution remains the same at 12 megapixels, but the iPhone 7 finally gets optical image stabilization (a first on the smaller model) and the larger iPhone 7 Plus has two 12-megapixel cameras; one has a wide-angle lens and the other is a telephoto lens.
With the two cameras, the iPhone 7 Plus can zoom up to 2x via optical zoom between the two lenses and up to 10x via digital zoom.
The new camera is comprised of a new 6-element lens with larger f/1.8 aperture which helps take even better photos in low-light situations, putting it on par with some of the best Android phone cameras.

There's a new quad-LED flash that outputs 50 percent more flash than previous iPhones 
The cameras are also a lot faster to autofocus and shoot. On the larger iPhone 7 Plus, the camera is capable of capturing photos with bokeh (blurred out backgrounds) with shallower depth of field.
The front-facing FaceTime camera is now 7-megapixels (up from 5-megapixels).
Water and dust-resistant
The new iPhones are IP67 water and dust-resistant. That's good enough to be submerged in up to 3.2 feet of water for up to 30 minutes.
Stereo speakers
For the first time the iPhone has stereo speakers, which can output 50 percent louder sound. One speaker is in the earpiece and the other on the bottom.
Headphone jack is gone

Yep, the headphone jack is gone. Deader than dead.
iPhone 7 and 7 Plus users will need to use Lightning-based headphones, which will be included in the box.


Every new iPhone will also include a Lightning-to-3.5mm headphone jack dongle in the box that work with existing headphones.
Not into any of those two options? Apple's got new wireless AirPods, its new wireless earbuds that are basically EarPods sans wires.
Pricing and availability
The iPhone 7 will come in three storage models: 32GB ($649), 128GB ($749) and 256GB ($849). The iPhone 7 Plus also comes in the same storage models: 32GB ($769), 128GB ($869) and 256GB ($969).
Pre-orders start on Sept. 9 and devices ship on Sept. 16.
Installment plans will also be available:


iOS 10 and watchOS 3 will be available on Sept. 13.


Before you leave, do me a favor and answer me this question:
What’s your opinion of Bitcoin
~Is it here to stay — permanently — or is it just another passing fad?
Leave your comment below  (Please! Don’t forget to use the social sharing buttons, either)!